Sharing files between devices has never been easier. Modern Windows systems provide built-in tools that simplify collaboration. Whether for work or personal use, these features help transfer documents, photos, and media quickly.
Built-in options like Nearby Sharing and Network Share eliminate complicated setups. They allow seamless access to files across multiple devices. No additional software is needed for basic transfers.
Anyone researching easily connect share may also want to understand forget saved before deciding on the best option.
Many users face challenges like visibility issues or credential errors. Proper settings and configurations can resolve these problems. This guide covers simple solutions for secure, efficient file exchanges.
From home offices to small businesses, network-based sharing boosts productivity. Learn more about transfer methods that work across different Windows versions. Discover how to maximize your workflow with these powerful tools.
Understanding Network Connections Between Computers
Efficient file sharing starts with a stable network setup. Whether for work or home use, knowing your options ensures faster, more reliable transfers.
Types of Networks: Ethernet vs. Wi-Fi
Ethernet delivers unmatched speed and stability. Wired connections minimize interference, ideal for large file transfers or gaming. For example, a 1GB file copies in seconds over Gigabit Ethernet.
Wi-Fi offers mobility but varies in performance. Walls and distance can weaken signals. Modern standards like Wi-Fi 6 improve speeds but still lag behind wired setups.
Basic Requirements for File Sharing
Every network relies on core components:
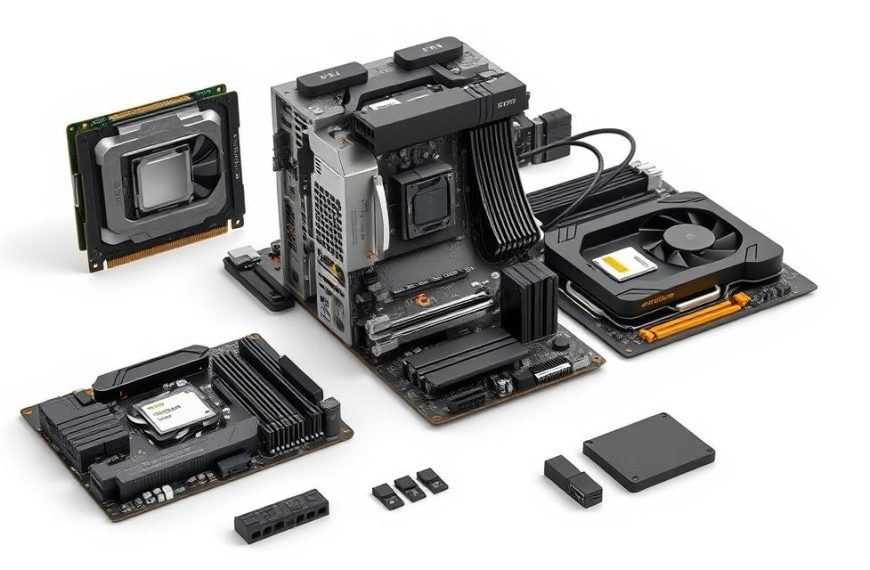
- Hardware: Routers, switches, and compatible NICs (Network Interface Cards).
- Protocols: TCP/IP ensures data reaches the right device.
- Firewall Rules: Port 445/TCP must be open for SMB file sharing.
“Ethernet’s consistency makes it the gold standard for mission-critical tasks.”
On Windows, enable network discovery and file printer sharing in settings. These features let devices see each other securely. Always verify firewall permissions to avoid access issues.
How to Connect with Another Computer in a Network
Windows provides built-in tools to streamline cross-device file sharing. Proper configurations ensure seamless access and prevent common errors like “Access Denied.” Follow these steps to optimize your setup.

Step 1: Verify Network Discovery Settings
Open the Control Panel via control.exe /name Microsoft.NetworkAndSharingCenter. Navigate to Advanced sharing settings and ensure “Turn on network discovery” is enabled.
This allows devices to detect each other. For home networks, select “Private” profile for fewer restrictions. Always verify firewall rules permit communication on port 445.
Step 2: Enable File and Printer Sharing
Under the same Advanced sharing settings, activate file printer sharing. This grants read/write access to shared folders. Use the table below to assign appropriate permissions:
| Permission Level | Access | Use Case |
|---|---|---|
| Read | View files only | Public documents |
| Read/Write | Edit or delete files | Collaborative projects |
| Full Control | Modify permissions | Administrators |
Step 3: Assign Proper Permissions
Create user accounts for network authentication if devices use different credentials. Right-click a folder > Properties > Sharing tab to configure NTFS and share permissions separately.
Tip: For “Access Denied” errors, check both share-level and NTFS permissions. Ensure the Remote Registry service runs on the target device.
Configuring Advanced Sharing Settings in Windows
Windows offers granular control over file sharing through advanced settings. Tailoring these options enhances security and efficiency, especially in mixed-device environments.
Accessing the Control Panel for Network Setup
Open Advanced sharing settings via Win + R, then type control.exe /name Microsoft.NetworkAndSharingCenter. Navigate to:
- Network Discovery: Enable for device visibility.
- File Printer Sharing: Allow read/write access.
For legacy systems, enable 40/56-bit encryption under All Networks. This ensures compatibility but reduces security.
Adjusting Public Folder and Password-Protected Sharing
The Public folder (C:UsersPublic) is accessible to all network users. Use cautiously—any file placed here becomes openly available.
“Password Protected Sharing adds a critical layer of security for business networks.”
Enable Password Protected Sharing to restrict access to authorized users. Combine with these firewall rules for safety:
| Setting | Command | Purpose |
|---|---|---|
| Allow SMB | netsh advfirewall firewall add rule | Permits file-sharing traffic |
| Block Public Access | netsh advfirewall set allprofiles state on | Blocks unauthorized devices |
For offices, enforce 56-bit encryption if older devices are present. Always test permissions after changes to avoid access issues.
Accessing Shared Folders from Another Computer
Windows simplifies accessing shared resources with intuitive tools. Whether retrieving work documents or media files, the process is streamlined for efficiency. Proper navigation ensures seamless collaboration across devices.

Using File Explorer to Locate Network Devices
Open File Explorer via the Start menu or Win + E. Navigate to the Network tab to view available devices. Shared folders appear under their respective hostnames.
For direct access, type the UNC path (e.g., \computername) in the address bar. This bypasses browsing and connects instantly. IT admins prefer UNC for scripting and batch operations.
Entering Credentials for Secure Access
Password-protected folders prompt for credentials. Input the username and password matching the host device’s account. Enable Credential Manager to store logins for future access.
“Storing credentials in Windows Credential Manager reduces repetitive logins while maintaining security.”
For persistent access, map a network drive. Assign a letter (e.g., Z:) to the UNC path. Temporary access suits one-time file transfers.
| Method | Pros | Cons |
|---|---|---|
| Mapped Drive | Permanent, quick access | Requires admin rights |
| Temporary UNC | No setup needed | Manual re-entry required |
If errors like Network Path Not Found occur, verify the server is online. Use PowerShell (Test-NetConnection) to diagnose connectivity issues.
Troubleshooting Common Network Sharing Issues
Network file sharing issues can disrupt productivity, but most have straightforward fixes. Credential prompts, connection failures, or slow transfers often stem from misconfigured settings. Systematic checks resolve these efficiently.

Resolving “Network Credentials” Errors
Mismatched accounts frequently trigger credential errors. Ensure the username and password match the host device’s local or Microsoft account. For shared folders, create identical user accounts on both devices.
Reset permissions via Security Policies (secpol.msc). Navigate to Local Policies > Security Options and enable Network Security: LAN Manager authentication level. Set to Send NTLMv2 response only.
Flushing DNS and Updating Firewall Rules
Run ipconfig /flushdns in Command Prompt to clear outdated DNS cache. Recreate the network profile via Settings > Network & Internet > Network Reset.
Firewall blocks often cause silent failures. Allow File Printer Sharing through Windows Defender Firewall. Use these commands for granular control:
| Issue | Solution | Tool |
|---|---|---|
| Credential rejection | Match local accounts | User Management |
| SMB conflicts | Enable SMB1 (if legacy) | Windows Features |
| Firewall blocks | Add inbound rule for port 445 | netsh advfirewall |
For deeper analysis, check Event Viewer under Windows Logs > System. Filter for errors with source srv or smb.
Conclusion
Security remains a top priority when sharing resources across systems. Always enforce password protection and enable encryption to safeguard sensitive data. Regular updates and firewall checks prevent vulnerabilities.
For broader flexibility, consider cloud sync tools like OneDrive or Google Drive. They complement traditional network sharing methods, especially for remote teams. Test setups across different devices to ensure compatibility.
Follow this checklist for seamless implementation:
- Verify permissions and user credentials.
- Monitor network activity for anomalies.
- Update Windows and sharing protocols regularly.
FAQ
What are the basic requirements for sharing files between computers?
Both devices must be on the same network, have network discovery enabled, and share permissions configured properly. Windows File and Printer Sharing should also be turned on.
How do I enable network discovery in Windows?
Open Control Panel > Network and Sharing Center > Advanced sharing settings. Under “Private” or “Guest or Public,” select Turn on network discovery.
Why can’t I see another computer on my network?
Check if both devices have network discovery activated. Also, verify firewall settings and ensure they are on the same subnet. Restarting the router may help.
How do I share a folder with another computer?
Right-click the folder, select Properties > Sharing > Advanced Sharing, then enable sharing and set permissions (read/write access).
What should I do if I get a "Network Credentials" error?
Ensure both computers use the same username and password. Alternatively, disable password-protected sharing in Advanced sharing settings.
How do I access a shared folder from another PC?
Open File Explorer, enter [ComputerName] or [IP Address] in the address bar, then authenticate if prompted.
Can I share files between different Windows versions?
Yes, but ensure SMB protocol compatibility. Older versions may need updates or manual SMB configuration in Windows Features.
How do I troubleshoot slow file transfers over the network?
Check Ethernet/Wi-Fi speeds, disable background apps, and ensure no firewall restrictions. Updating network drivers may also improve performance.
 By
By